
Reseller guide
Liquidation item listing checklist: photos and wording
Build your listing, the item’s sale advertisement, from the goods you checked: their name, included parts, visible faults and exact check notes. Liquidation goods are stock a business is clearing out. Photograph the actual item and compare the finished wording with it before posting. Use your selling channel’s current rules for the final condition and required fields.
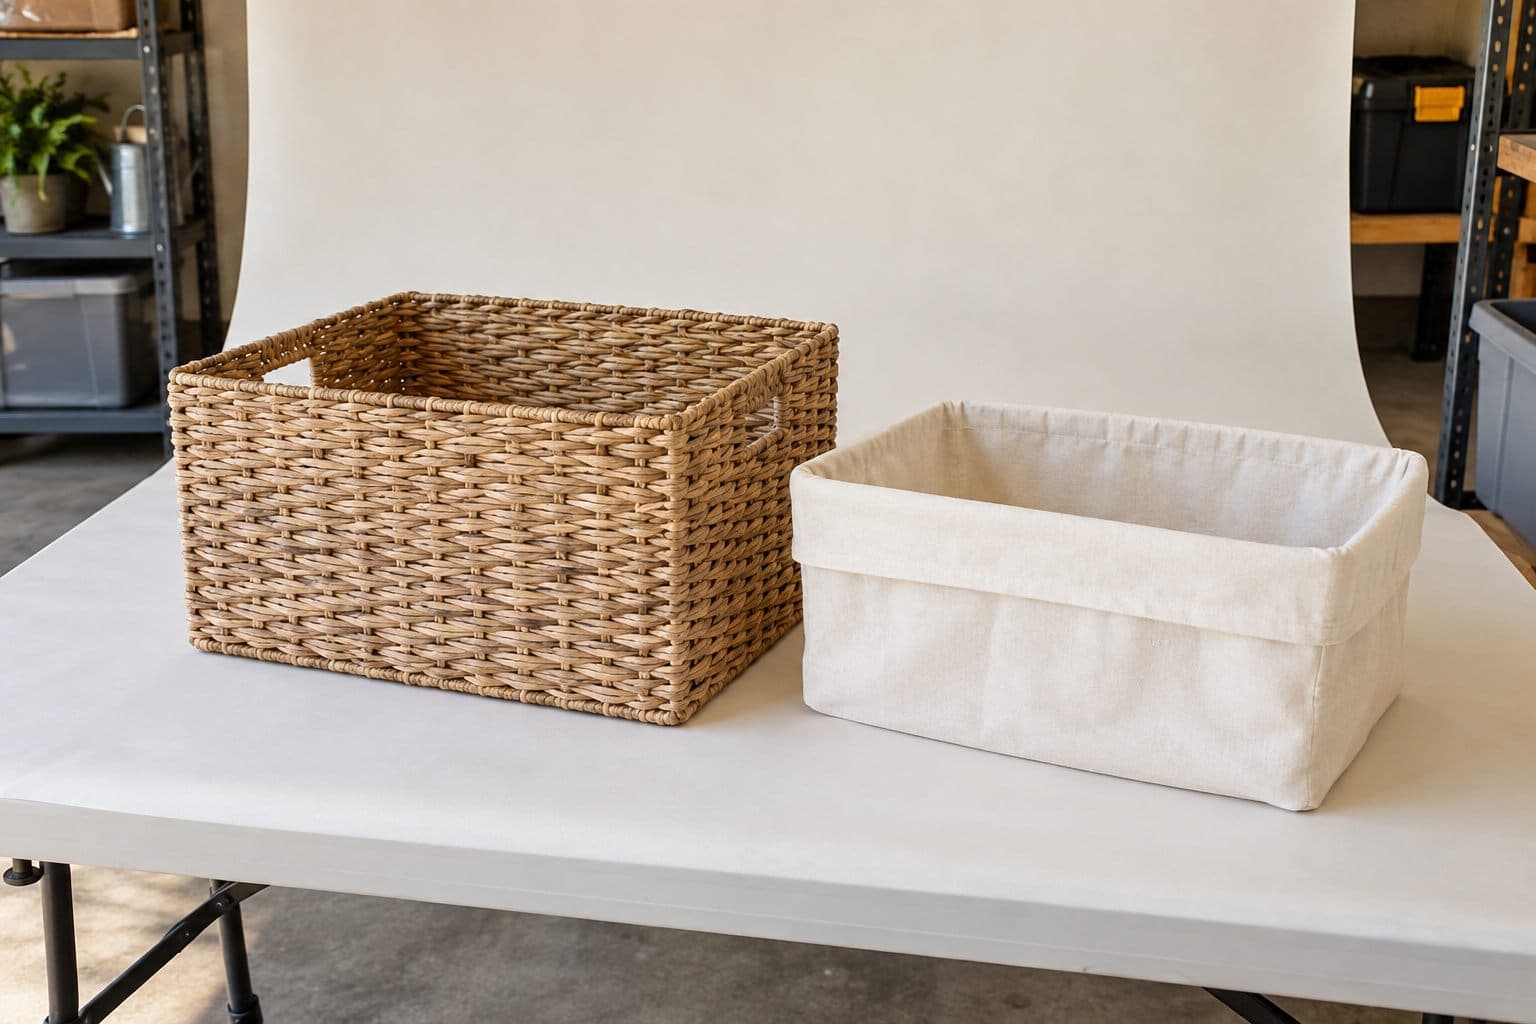
Start with a unit cleared for listing
#Keep an item ID, a short code you choose for your records, with the unit and its parts. Bring the inspection notes to the photo area. If the product identity, safety check or included parts are unresolved, keep the item on hold and write the next step in its record.
A liquidation return is an item sent back by a buyer. A condition grade is the seller's label for its state. Use that label as a starting point to check, then write what you found on the actual item. Read the inspection and testing guide before drafting working-state claims. The trade glossary explains other buying and selling terms.
Only test what you can test safely. Never test swollen or damaged batteries, damaged cords, gas appliances or anything recalled. Use the manufacturer's instructions and qualified help where needed. Search the US Consumer Product Safety Commission (CPSC) recall database and the maker's notices before moving goods to resale. A recall calls for action on a product hazard; follow the applicable notice and keep unresolved goods out of the listing queue. CPSC's resale guidance asks resellers to examine stock and check recalls.
Set out exactly what the buyer receives
#Place the main item and included parts together. List each part in your notes before photographing it. Keep photo props, spare parts and equipment used for a safe check outside the sale group unless you are including them.
For repeated units, compare condition and contents before reusing a description. You might have three matching baskets, but only two matching inserts. Give the incomplete unit its own notes and photos. A case pack is a group packed and sold together in a case. It can contain repeated goods or an assortment, depending on the offer; the case-pack guide covers counts and partial sales.
When one piece spans several cartons, list the cartons and the confirmed parts attached to that item. Keep “not assembled” visible if you haven't assembled it. Don't turn a count of panels into a statement that the furniture is ready to use.
Photograph the item from useful angles
#As of October 2026, eBay's picture guidance requires at least one picture and says a used-item listing can't use a catalog or stock photo. A stock photo is a generic product image rather than a photo of your unit. The guidance also calls for several angles, clear fault photos and a main photo showing every item in a bundle, a group offered together.
Use a plain background and check the image on your screen. Take a whole-item view, then views that show the parts, marks and faults you plan to describe. For this suggested workflow, keep the item ID in your private photo filenames or notes so similar units don't get mixed up.
| Photo to take | Question it should answer |
|---|---|
| Whole item | What is the buyer receiving? |
| Other useful sides | What does it look like beyond the front view? |
| Included parts | Which inserts, attachments or hardware come with it? |
| Each known fault | Where is the scuff, crack or missing part? |
| Relevant size or label | Which detail supports the written description? |
Keep previous buyers' names, addresses, order labels and account details out of public photos. For a label photo, show the product detail you need without those details in the frame. Retake blurred pictures. Don't edit out damage or add a part that isn't present.
The photos on this guide illustrate a generic setup. For your own listings, photograph the goods you actually have.
Write a title from confirmed details
#Start with the product type and the details you can support: a confirmed maker or model, size, color or included set. A model number is the product code marked as model on the maker's label. If you haven't confirmed it, resolve that question before using a specific model name.
Avoid filling the title with unrelated retailer names or product types. eBay’s description policy requires accurate descriptions and the appropriate category, the group where the item is listed. Details copied from its product catalog, a library of product information, must match the item. Read your purchase terms before choosing how to describe the source in an ad. Ask qualified help about any terms you don't understand.
Made-up example: “Gray storage basket with removable insert, 12 inches wide” uses the observed type, included part and measured width. Use those words only for a unit that matches them. A carton title or a photo-search suggestion still needs your check against the item.
Describe appearance and checks separately
#Write what you can see, then what you actually checked. A scratch, an opened box and a failed function belong in different notes. Name a known fault plainly and show it in a photo. If a part is absent, say which part is missing rather than leaving the buyer to count it in the picture.
For a partial check, write “Powers on; other functions untested.” Don't shorten that to “tested.” Include what you checked, the result and the functions left open. If you know a function failed, describe that specific failure.
Fictional example: “Main item included; power supply missing; not powered on.” Keep the item on hold if its safety checks remain unresolved.
Choose the channel's condition yourself
#Keep your inspection note intact, then read the condition options for the product's category.
An inspection note is separate from a marketplace condition. In guidance checked October 9, 2026, eBay says its options “vary depending on the category you list your item in.” Whatnot says, “For detailed information, please refer to the condition guides linked below.” Read your category’s rules before choosing a condition; do not assign one solely from “Untested.”
For listing steps and fees, continue to the Whatnot selling guide or eBay selling guide.
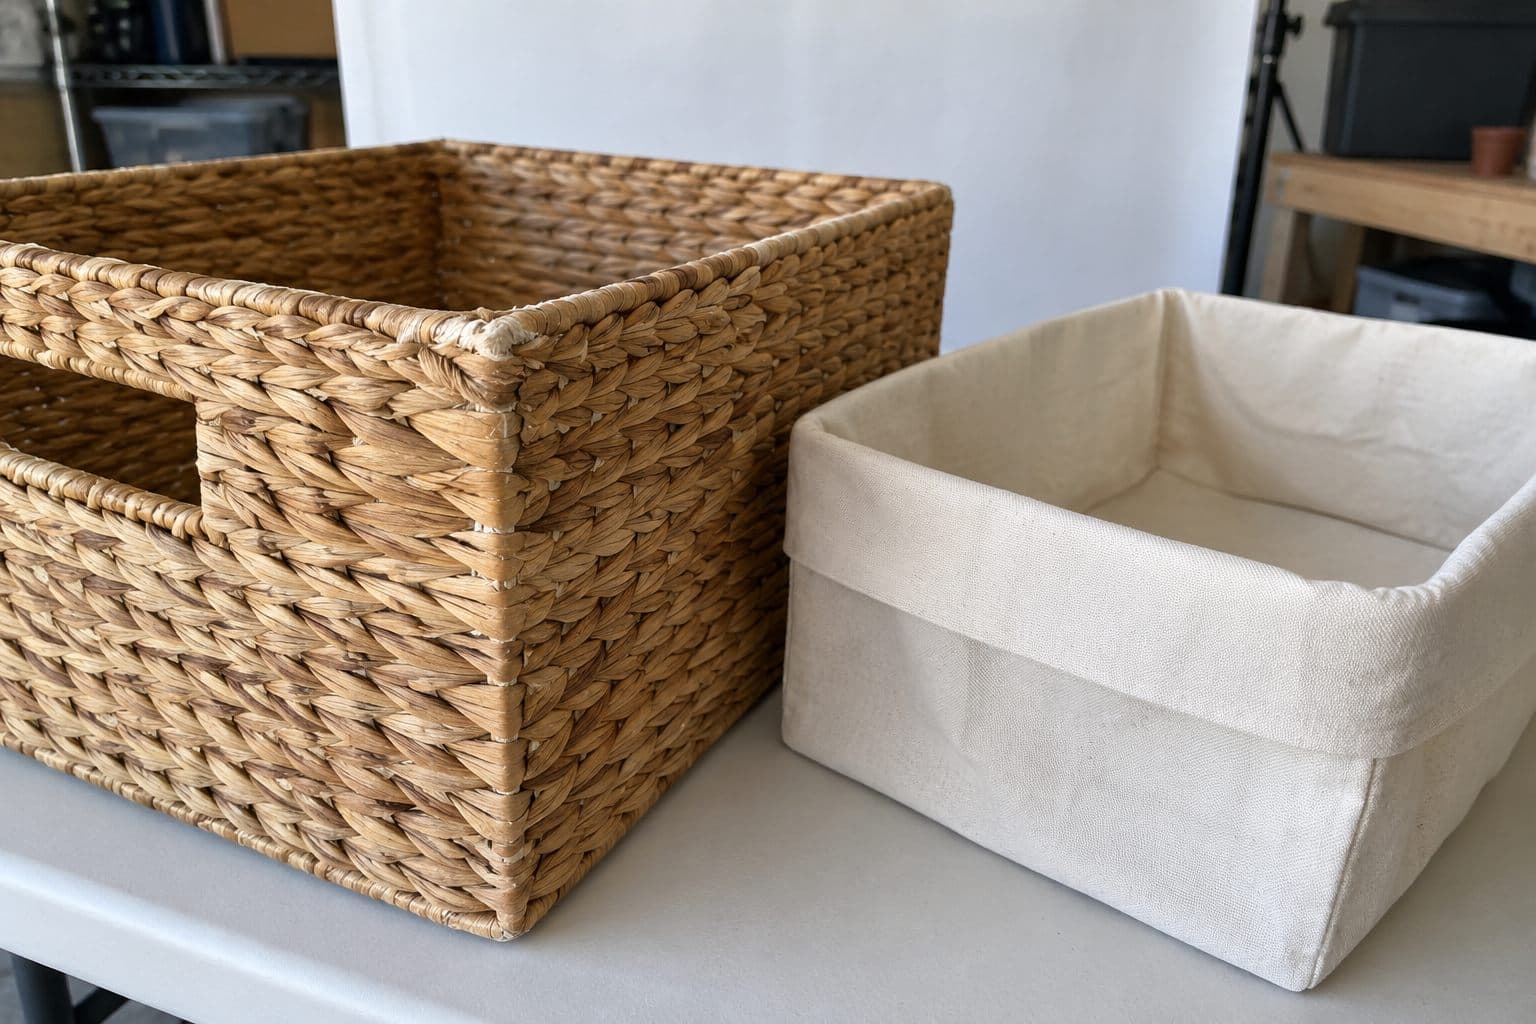
Copy a plain listing worksheet
#Use this original worksheet as a draft beside the item. Fill it with checked details, then adapt it to the fields your channel asks for. Delete lines that don't apply rather than filling them with guesses.
| Field | Your draft |
|---|---|
| Item ID for your records | Keep this tied to the correct unit |
| Title | Confirmed product type and useful checked details |
| Included | Main item and each included part |
| Missing | Known absent parts, if any |
| Appearance | Observed wear, damage and packaging state |
| Checks | What you did, the result and what remains untested |
| Size | Measurement, units and what you measured |
| Asking price | The amount you are requesting |
| Delivery or pickup | The route you actually plan to offer |
Made-up description: gray storage basket with removable insert, measured 12 inches wide at the outer rim. Insert included. Scuff on the rear edge, shown in a close photo. Exterior and insert inspected; no claim about use history. Local pickup offered in an agreed general area.
Add price and handover details
#An asking price is the amount you request; the sale amount is what a buyer actually pays in a completed transaction. Use the pricing guide to work through comparisons and your costs. Leave the sale record open until the transaction happens.
For shipped goods, confirm the parcel plan before quoting shipping. For pickup, state the general area and the arrangement you can support. Keep your home address out of the public draft. The local-selling guide covers meeting, inspection, payment and handover; the parcel guide covers packing and carrier rules.
Read the listing once beside the item, then once as if you only had the photos. Check that the title, condition, parts and fault wording agree. Save the posted text and photo set with the item ID. This guide is not legal, tax or financial advice.
Keep the prepared text beside the item
#For repeated listing work, keep the current item facts and the text you're preparing together. A notebook or spreadsheet works. PalletPro prepares listing text from a template using the item's name, asking price, condition, test label and description when entered; you review the text and post it yourself. See the app
Sources
#- Liquidation industry glossary - Via Trading, no publication date shown (checked October 9, 2026).
- Adding pictures to your listings - eBay, no publication date shown (checked October 9, 2026).
- Item description policy - eBay, no publication date shown (checked October 9, 2026).
- Item condition by category - eBay, no publication date shown (checked October 9, 2026).
- Resale/Thrift Stores - US Consumer Product Safety Commission, no publication date shown (checked October 9, 2026).
- Recalls & Product Safety Warnings - US Consumer Product Safety Commission (checked October 9, 2026).
- Listing conditions and expectations on Whatnot - Whatnot, April 10, 2026 (checked October 9, 2026).
Updated
More guides
- Reseller bookkeeping: match sales to payouts
Match eBay, Whatnot, Facebook and cash sales to fees, refunds and bank deposits. Keep source records and work through a made-up payout example.
- Sell liquidation items locally: listings and pickup
Prepare liquidation items for local listings, explain condition and parts, arrange safer pickups, and record the sale after payment and handover.
- Selling liquidation items on eBay: condition and costs
List liquidation returns on eBay using verified condition, comparable sales, current fees and shipping costs, with a clear plan for packing and returns.
- Selling liquidation items on Whatnot: prep and fees
Prepare liquidation items for Whatnot, choose supported conditions, calculate current seller fees, set auction starts, and pack orders within the deadline.